Setting two GPU in your laptop: eGPU in Ubuntu 18.04 LTS
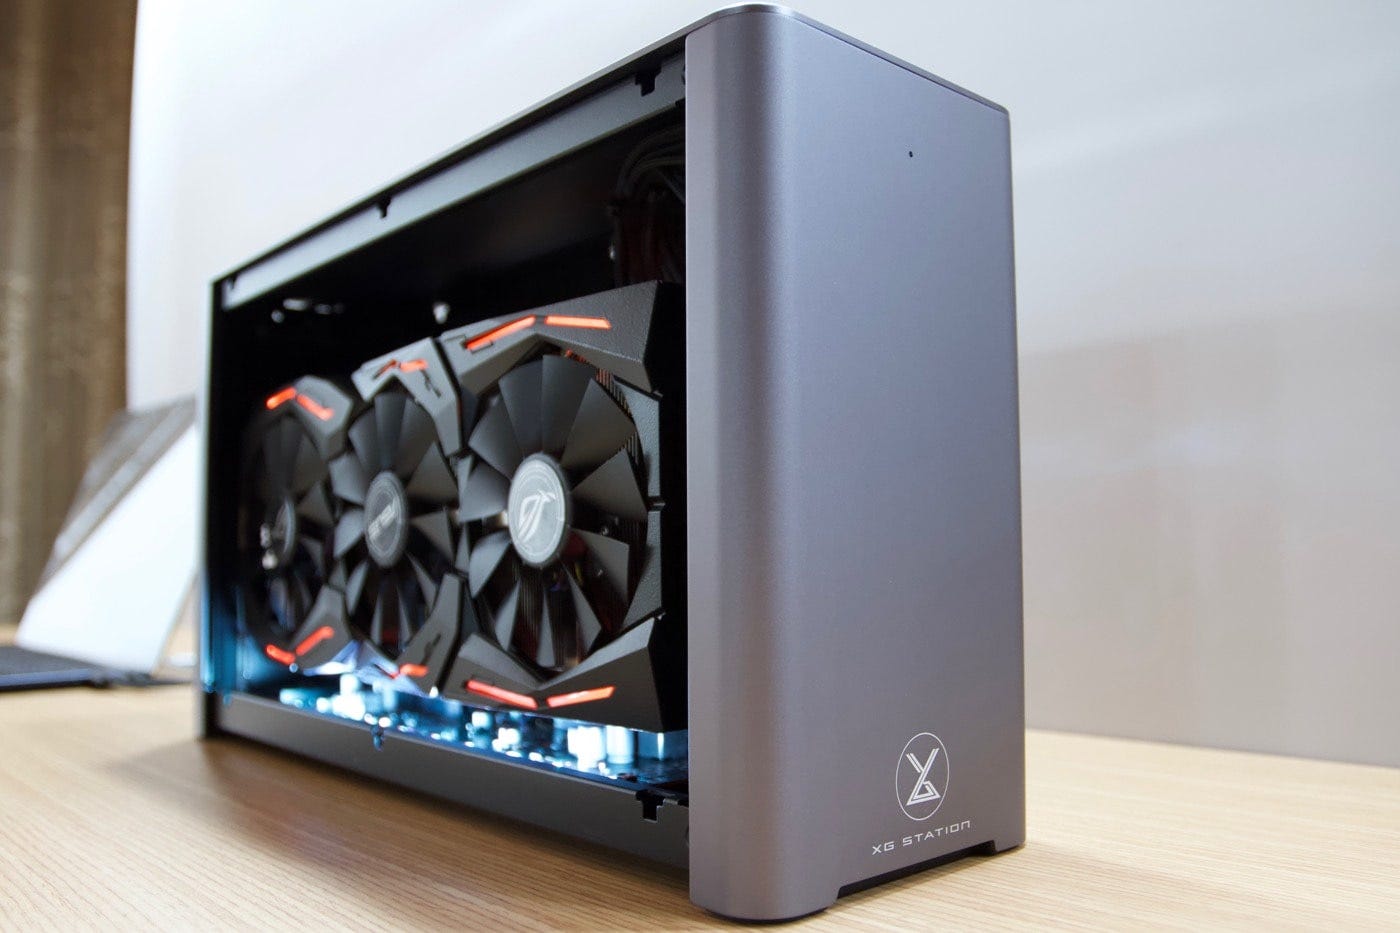
Some months ago, I decided to buy a new laptop with enough power to crunch data. At that time, I also had a desktop with a GTX 1070, but I stopped using it because of the convenience of my new laptop. Having a GPU like the GTX 1070 dusting is not the best idea. Thus, searching on the internet I found that there are some External Graphics Card Dock that enables the capability to connect an external GPU via Thunderbolt 3.
I bought the Asus XG Station PRO. It is compatible with Windows 10 64-bit and macOS High Sierra 10.13.4 or later. Configure it in Windows was easy, but after installing the dock, the operating system was clumsy. I didn’t want to waste my time debugging the cause of my computer’s slowdown. Although it is not officially supported, I decided to invest my time configuring Ubuntu 18.04 instead.
I feel a little bit ashamed because it took me several hours to finish, but I found that it is possible. I hope that the following instructions ease your experience to set your eGPU.
These are the steps to configure an XG Station PRO with a GTX 1070 in a laptop Zephyrus M GM501.
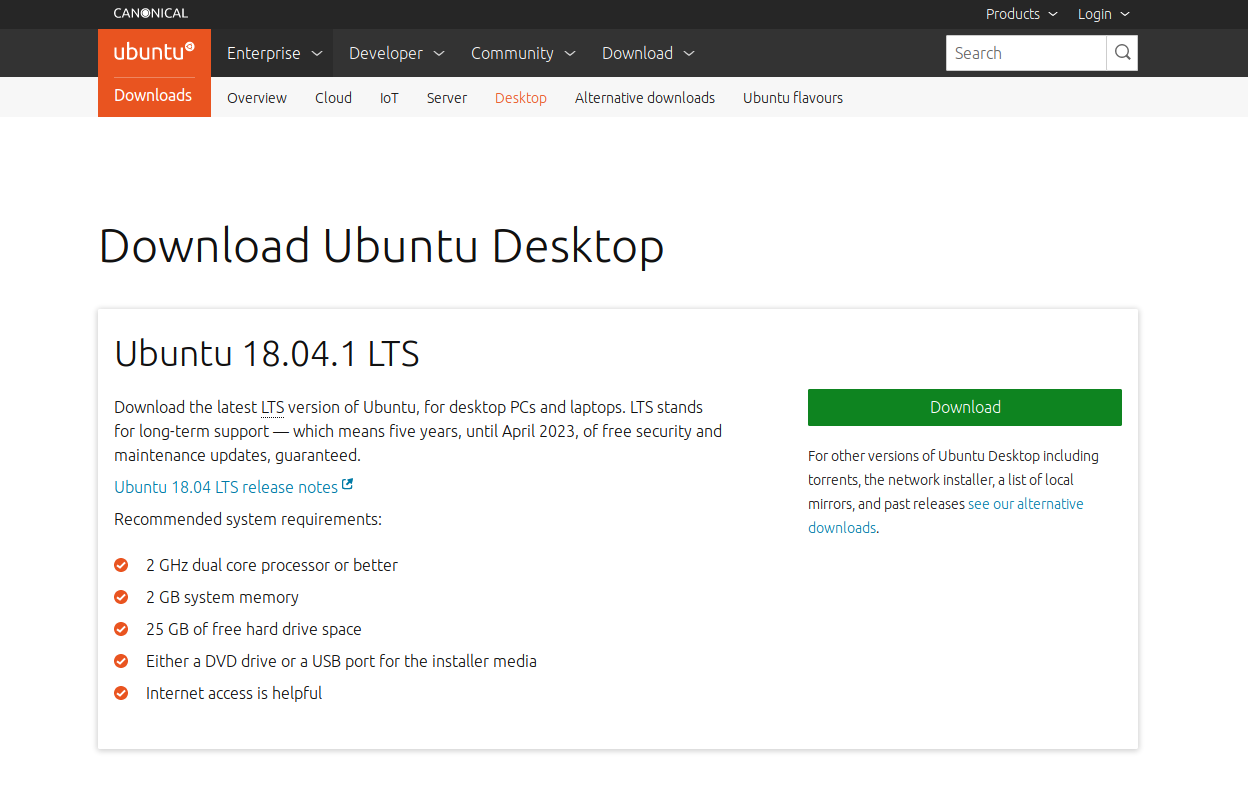
1. Install Ubuntu 18.04 LTS
I decided to install Ubuntu because of the community and their extensive support. You only have to download the .iso, burn it in a USB, reboot and follow the instructions. Hint: It wil be simpler if you disable secure boot.
2. Upgrade to Linux Kernel 4.15.1
After installing Ubuntu, I connected the Thunderbolt 3.0 cable but looking at the journalctl in the terminal I discovered the following error
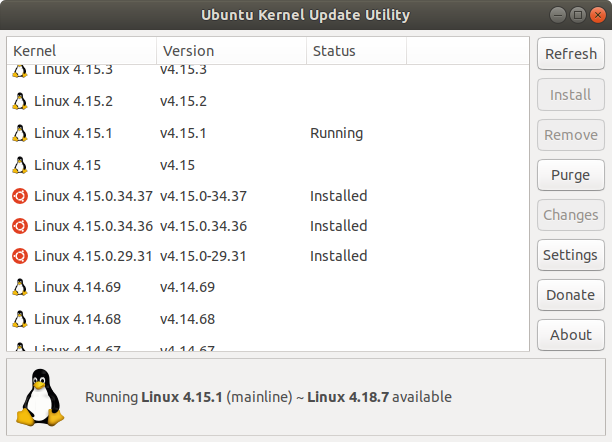
kernel: unexpected IRQ trap at vector 9aThe original kernel was the 4.15.0–34.37, and I installed the v4.15.1. You can either install it manually or use Ukuu, a tool with a user interface that makes it really easy.
3. Authorize XG Station Pro
By default, it is not authorized to communicate with the dock. To authorize it just change the value of the file /sys/bus/thunderbolt/devices/0–0/0–1/authorized from 0 to 1 and save the file.
$ vim /sys/bus/thunderbolt/devices/0-0/0-1/authorized4. Install Nvidia Drivers
The driver I installed is nvidia-396
$ sudo apt install nvidia-396Nevertheless, I got an error
Unpacking nvidia-396 (396.44-ubuntu1)
dpkg: error processing archive /varcache/apt/archives/nvidia-396_306.44–0ubuntu_amd64.deb
trying to overwrite ‘/usr/lib/x86_64-linux-gnu/libGLX_indirect.so.0’
In that case, I forced to overwrite
$ dpkg -i -force-overwrite /var/cache/apt/archives/nvidia-396_306.44–0ubuntu_amd64.debMaybe it will be necessary to blacklist nouveau, you can follow the instructions here.
5. Install CUDA 9.2
This step is easy, just download the file from here
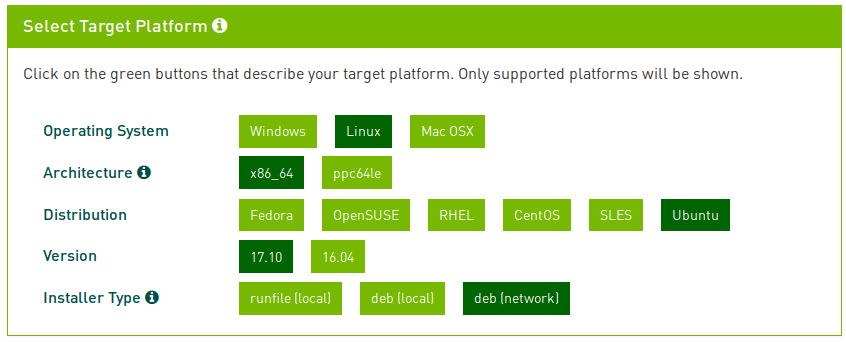
and type the next steps in a terminal.
$ sudo dpkg -i cuda-repo-ubuntu1710_9.2.148–1_amd64.deb
$ sudo apt-key adv — fetch-keys https://developer.download.nvidia.com/compute/cuda/repos/ubuntu1710/x86_64/7fa2af80.pub
$ sudo apt-get update
$ sudo apt-get install cuda
6. Create file xorg.conf
When you reboot, the screen resolution is low, which would seem that the drivers are not correctly installed. But it is because there is no xorg.conf file available in /etc/X11. It can be created by running:
$ sudo nvidia-xconfigand reboot. You can confirm that the nvidia drivers are correctly installed by running:
$ nvidia-smi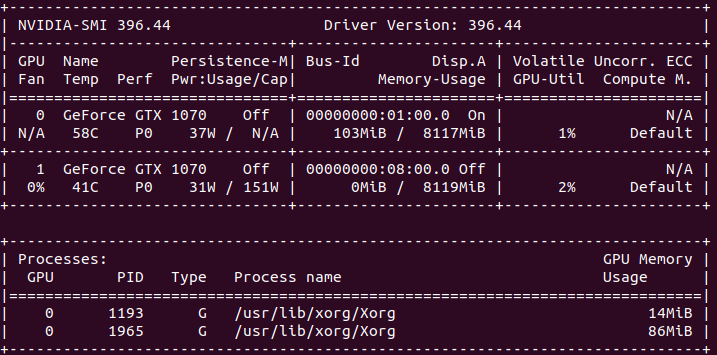
Optional: Install Docker and Nvidia-Docker
From here, you can either install locally the rest of the libraries to run your machine learning models or use Docker instead.
After installing docker and nvidia-docker, you just have to run
$ docker run --runtime=nvidia --rm nvidia/cuda nvidia-smiThe output should be exactly the same as runnin nvidia-smi locally .
Conclusion
Developing in Linux is more convenient than Windows. Furthermore, nvidia-docker only supports Linux. With these instructions, you can set an eGPU and run your models with at least one GPU and speed up your training.